
Bibingka: 7 Best Authentic Filipino Coconut Cake Recipes
Table of Contents
- Introduction to Bibingka: The Beloved Filipino Coconut Cake
- Why These 7 Authentic Bibingka Filipino Coconut Cake Recipes Stand Out
- Essential Ingredients for Authentic Bibingka
- Step-by-Step Instructions: Mastering Your Bibingka
- Expert Tips for Perfect Bibingka Every Time
- Serving Suggestions and Cultural Significance
- Frequently Asked Questions About Bibingka
Welcome to the delightful world of Bibingka: 7 Best Authentic Filipino Coconut Cake Recipes! This beloved Filipino delicacy is a moist, spongy, and subtly sweet rice cake, often enjoyed during the Christmas season but perfect any time of year. Get ready to embark on a culinary journey to master this iconic dessert.
Introduction to Bibingka: The Beloved Filipino Coconut Cake
Bibingka is more than just a cake; it’s a staple of Filipino culture, especially during the festive season. Its unique texture and flavor profile make it an unforgettable treat. Traditionally cooked in a clay oven lined with banana leaves, it holds a special place in the hearts of many.
In this post, we’ll explore making authentic Bibingka from scratch. You’ll learn the secrets to achieving that perfect texture and taste, just like grandma used to make. Whether you’re a seasoned baker or a curious beginner, this guide is for you.
Why These 7 Authentic Bibingka Filipino Coconut Cake Recipes Stand Out
Our curated selection covers various authentic preparations, ensuring you find a recipe that suits your taste and available ingredients. From classic galapong (fermented rice flour) versions to simpler, yet equally delicious, renditions, there’s a Bibingka for everyone.
These recipes emphasize authentic flavors and traditional techniques. We aim to bring the true taste of the Philippines right into your kitchen. Discover the rich heritage behind each bite of this incredible Filipino coconut cake.
What is Bibingka? A Culinary Delight
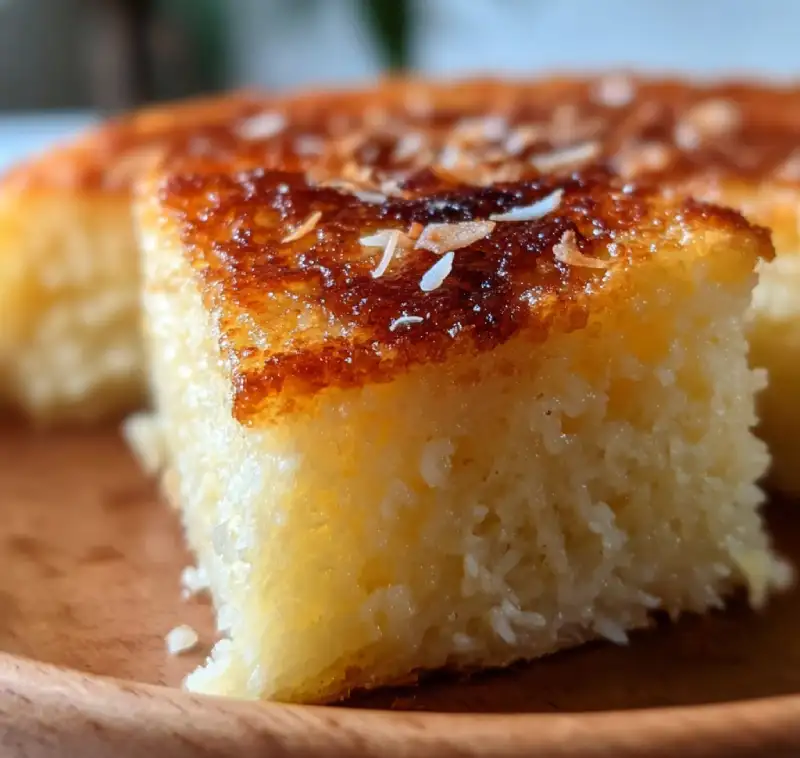
Bibingka is a type of baked rice cake, characteristically made from galapong (milled glutinous rice) and coconut milk. It’s known for its slightly charred bottom and top from the unique cooking method, giving it a distinct aroma and flavor.
Often topped with salted egg, cheese, and grated coconut, it’s a symphony of sweet and savory. This delightful treat can be found in various forms across the Philippines, each region adding its own twist to the classic bibingka recipe. To delve deeper into native Filipino desserts, Read our in-depth guide here.
Essential Ingredients for Authentic Bibingka
To create a truly authentic Bibingka, start with quality ingredients. The foundation of this cake is rice flour, coconut milk, and sometimes yeast or baking powder for leavening. Freshness is key, especially for the coconut milk.
Below is a list of common ingredients you’ll need for most traditional Bibingka recipes:
- Glutinous rice flour (or galapong)
- Regular rice flour
- Coconut milk
- Sugar (preferably muscovado)
- Eggs
- Baking powder
- Salt
- Butter or margarine (for greasing and topping)
- Salted egg (for topping)
- Grated cheese (for topping)
- Fresh grated coconut (for topping)
Traditional Rice Flour vs. All-Purpose Flour Options
Traditionally, Bibingka uses “galapong,” which is glutinous rice that has been soaked overnight, ground into a paste, and then fermented. This gives it a unique tang and chewiness. However, many modern recipes opt for a combination of glutinous rice flour and regular rice flour for convenience.
While some recipes might suggest all-purpose flour for a quick alternative, it won’t yield the authentic texture. For true Bibingka, sticking to rice flours is highly recommended. The distinct chewiness and slightly dense texture are derived from the rice.
Step-by-Step Instructions: Mastering Your Bibingka
Follow these general steps to create your own delicious Bibingka at home. Specific measurements and details will vary slightly by recipe, but the core process remains similar.
- Prepare the Batter: In a large mixing bowl, combine glutinous rice flour, regular rice flour, sugar, baking powder, and salt. Gradually whisk in the coconut milk and eggs until a smooth, lump-free batter forms.
- Rest the Batter (Optional but Recommended): For some recipes, especially those using yeast or for a more developed flavor, let the batter rest for 30 minutes to an hour.
- Prepare Baking Pans: Grease Bibingka molds (or a shallow round baking pan) and line them with banana leaves. Brush the leaves with butter or oil to prevent sticking and impart flavor.
- Preheat Oven/Hot Plate: Traditional Bibingka is cooked using heat from both above and below. If using a conventional oven, preheat it. Some people use a special Bibingka toaster or a stovetop method.
- Pour and Bake: Pour the batter into the prepared molds, filling about two-thirds full. Bake until the edges are set and the top begins to brown.
- Add Toppings: Halfway through or towards the end of baking, place slices of salted egg and grated cheese on top. Continue baking until fully cooked and golden brown.
- Finish and Serve: Once baked, remove from the molds. Brush generously with butter or margarine and sprinkle with fresh grated coconut. Serve warm.
Beyond the Basics: Variations and Toppings
The beauty of Bibingka lies in its versatility. While traditional toppings are salted egg and cheese, don’t be afraid to experiment! Consider adding pandan extract for a fragrant twist or ube for a vibrant purple hue.
Other popular variations include Bibingka Galapong (the classic fermented rice flour version), Bibingka Malagkit (a sticky rice version similar to biko), and mini Bibingka bites. Explore and find your favorite!
Expert Tips for Perfect Bibingka Every Time
Achieving that perfect Bibingka might take a little practice, but these tips will help you along the way:
- Use Fresh Ingredients: Especially fresh coconut milk for the best flavor. Canned is fine, but fresh is superior.
- Grease Banana Leaves Well: This prevents sticking and adds an aromatic smoky flavor.
- Don’t Overmix the Batter: Mix until just combined to ensure a tender cake.
- Control Heat: If using a clay oven or specialized Bibingka toaster, managing the top and bottom heat is crucial for even cooking and distinct char.
- Serve Warm: Bibingka is best enjoyed fresh from the oven, straight to your plate.
- Make Your Own Galapong: For the most authentic experience, soak and grind your own sticky rice for galapong bibingka.
Serving Suggestions and Cultural Significance
Bibingka is traditionally served hot, often with hot chocolate (sikwate) or coffee, especially after attending Simbang Gabi (predawn Christmas masses) in the Philippines. It’s a symbol of togetherness and celebration during the holiday season.
Enjoy it as a dessert, a hearty snack, or even for breakfast. The contrast of the warm, soft cake with the salty egg, sweet cheese, and fresh coconut is simply delightful. Learn more about traditional Filipino cuisine at Kawaling Pinoy.
F.A.Q
What is the difference between Bibingka and Puto Bumbong?
While both are popular Filipino Christmas delicacies, Bibingka is a baked rice cake made from glutinous rice flour and coconut milk. Puto Bumbong, on the other hand, is steamed purple rice cake (made from pirurutong rice) cooked in bamboo tubes, often served with butter, shredded coconut, and muscovado sugar. Both are delicious native Filipino desserts.
Can I make Bibingka without a special clay oven?
Absolutely! While the classic clay oven (bibingka oven) imparts a unique flavor, you can achieve excellent results using a standard oven. You might need to adjust baking times and possibly use a broiler for the top char, or even a heavy-bottomed skillet on the stovetop with a lid to mimic the double-heat cooking. A well-made Bibingka is possible with common kitchen equipment.
How do I store leftover Bibingka?
Bibingka is best enjoyed fresh. However, if you have leftovers, store them in an airtight container at room temperature for up to 1-2 days, or in the refrigerator for up to 3-4 days. Reheat gently in a toaster oven or microwave before serving for the best texture and flavor. The moisture in this Filipino coconut cake can dry out quickly, so proper storage is key.