
Table of Contents
- Start Your Day Right: Homemade Buttermilk Pancakes
- Why This Recipe Delivers Perfect Pancakes
- Ingredients Demystified: What You Need and Why
- Step-by-Step: Your Guide to Fluffy Pancakes
- Expert Tips for Pancake Perfection
- Beyond the Plate: What to Serve With Your Pancakes
- Store, Reheat, and Enjoy Again
- Troubleshooting Common Pancake Problems (FAQ)
Start Your Day Right: Homemade Buttermilk Pancakes
Imagine waking up to the aroma of warm, golden-brown pancakes, their edges perfectly crisp, their centers impossibly fluffy, and a subtle tang that makes your taste buds sing. That, my friends, is the magic of homemade buttermilk pancakes. Forget those sad, flat, and flavorless pancakes from a box mix. Once you experience the joy of making them from scratch, you’ll never look back. My journey to the perfect pancake has been a delicious adventure, filled with countless batches and tweaks, all leading to this ultimate recipe that I’m thrilled to share with you today. It’s a recipe that consistently delivers on its promise of pure breakfast bliss.
Why This Recipe Delivers Perfect Pancakes
- Achieving unparalleled fluffiness: Our precise combination of leavening agents and the gentle mixing technique ensures every pancake rises beautifully, creating an airy, cloud-like texture that melts in your mouth.
- The balanced flavor profile: The buttermilk provides a delightful tang that perfectly balances the sweetness, while a touch of melted butter adds richness and a golden hue.
- Consistent results for every batch: This recipe is designed for success, with clear instructions and tips that guarantee perfect pancakes, whether you’re a seasoned baker or a breakfast novice.
- Uses melted butter for moisture: Incorporating melted butter directly into the batter ensures a tender crumb and a rich, buttery flavor throughout.
- One-bowl cleanup (mostly!): While we separate wet and dry, the process is streamlined to minimize dishes, making your morning routine a little easier.
Ingredients Demystified: What You Need and Why
Here is what you need and why:
All-Purpose Flour: This is the structural foundation of our pancakes. I prefer unbleached all-purpose flour for its consistent quality. While you can experiment with other flours, all-purpose provides the best balance of tenderness and structure for classic pancakes.
Buttermilk: The star of the show! Buttermilk is acidic, reacting with baking soda to create carbon dioxide bubbles, which are crucial for fluffiness. It also tenderizes the gluten in the flour, resulting in a wonderfully soft texture, and imparts a subtle, delightful tang. If you don’t have buttermilk, you can make a substitute: add 1 tablespoon of white vinegar or lemon juice to a liquid measuring cup, then fill the rest with regular milk until it reaches 1 cup. Let it sit for 5-10 minutes until it curdles slightly.
Baking Soda & Baking Powder: This dynamic duo is our leavening combo. Baking soda reacts with the acid in the buttermilk, while baking powder (which is double-acting) provides an initial lift when mixed with liquid and a second lift when heated. Using both ensures maximum rise and a light, airy texture.
Eggs: Eggs act as a binder, holding the batter together, and contribute to the richness and structure of the pancakes. They also add a touch of moisture and help create that beautiful golden-brown crust.
Granulated Sugar & Salt: Sugar isn’t just for sweetness; it also aids in browning and keeps the pancakes moist. Salt is a crucial flavor enhancer, balancing the sweetness and bringing out the best in all the other ingredients. Don’t skip it!
Melted Unsalted Butter: Incorporating melted butter directly into the batter adds incredible moisture, richness, and a wonderful buttery aroma. It also helps create a tender crumb. Using unsalted butter gives you control over the overall saltiness of the dish.
Step-by-Step: Your Guide to Fluffy Pancakes
Follow these step-by-step photos:
1. Prep Your Dry Ingredients
In a large bowl, whisk together the all-purpose flour, granulated sugar, baking powder, baking soda, and salt. Whisk thoroughly for about 30 seconds to ensure all the leavening agents are evenly distributed. This prevents pockets of unmixed ingredients and ensures an even rise.
2. Mix Wet Ingredients for Perfect Emulsification
In a separate medium bowl, whisk together the buttermilk, eggs, and melted butter until well combined and smooth. The mixture should be uniform in color and consistency. This step ensures all the wet ingredients are fully incorporated before meeting the dry, preventing overmixing later.
3. Combine Wet and Dry: The Critical ‘Just Mixed’ Technique
Pour the wet ingredients into the dry ingredients. Using a whisk or spatula, mix gently until just combined. It’s crucial to stop mixing as soon as no dry streaks of flour remain. Lumps are perfectly fine, even desirable! Overmixing develops gluten, leading to tough, chewy pancakes. The batter should be thick and somewhat lumpy.
4. Rest the Batter: Why It Matters
Cover the bowl with plastic wrap and let the batter rest at room temperature for 10-15 minutes. This resting period allows the gluten to relax, the flour to fully hydrate, and the leavening agents to start working their magic, resulting in even fluffier pancakes. While the batter rests, preheat your griddle.
5. Griddle Setup and Optimal Temperature
Heat a non-stick griddle or a large cast-iron skillet over medium heat. To test if it’s ready, sprinkle a few drops of water on the surface; they should sizzle and evaporate quickly. If they just sit there, it’s not hot enough. If they immediately disappear with a loud hiss, it’s too hot. A perfectly heated griddle is key to even browning and cooking.
6. Pouring and Cooking Each Pancake Evenly
Lightly grease the griddle with butter or cooking spray. Pour about 1/4 cup of batter per pancake onto the hot griddle, leaving some space between each. Cook for 2-3 minutes, or until bubbles appear on the surface and the edges look set. Knowing when to flip is crucial for perfectly golden pancakes.
7. Knowing When to Flip
Once you see bubbles forming across the entire surface of the pancake and the edges appear dry and slightly firm, it’s time to flip! Use a thin spatula to gently slide under the pancake and flip it over. Cook for another 1-2 minutes on the second side, or until golden brown and cooked through. Repeat with the remaining batter, adjusting heat as needed.
Expert Tips for Pancake Perfection
- Do not overmix: This is the golden rule of pancake making! Lumps are your friends. Overmixing develops gluten, leading to tough, rubbery pancakes. Mix just until the dry ingredients are moistened.
- Use fresh leavening agents: Baking powder and baking soda lose their potency over time. Check their freshness by adding a teaspoon of baking powder to a small bowl of hot water (it should bubble vigorously) or a teaspoon of baking soda to a small bowl of vinegar (it should fizz immediately).
- The importance of a hot griddle: A properly heated griddle ensures even cooking and that beautiful golden-brown crust. Too cool, and they’ll be pale and greasy; too hot, and they’ll burn on the outside before cooking through.
- Consistent pancake size: Use a 1/4 cup measuring cup or an ice cream scoop to ensure uniform pancake sizes. This helps them cook evenly and makes for a prettier stack!
- Keeping pancakes warm: As you cook batches, place finished pancakes on a wire rack set over a baking sheet in a warm oven (around 200°F / 95°C). This keeps them warm and prevents them from getting soggy.
- Measure flour correctly: Spoon flour into your measuring cup and then level it off with a straight edge. Scooping directly from the bag can compact the flour, leading to too much flour and a dry batter.
- Room temperature ingredients: Eggs and buttermilk at room temperature incorporate more easily into the batter, creating a smoother, more uniform mixture.
Beyond the Plate: What to Serve With Your Pancakes
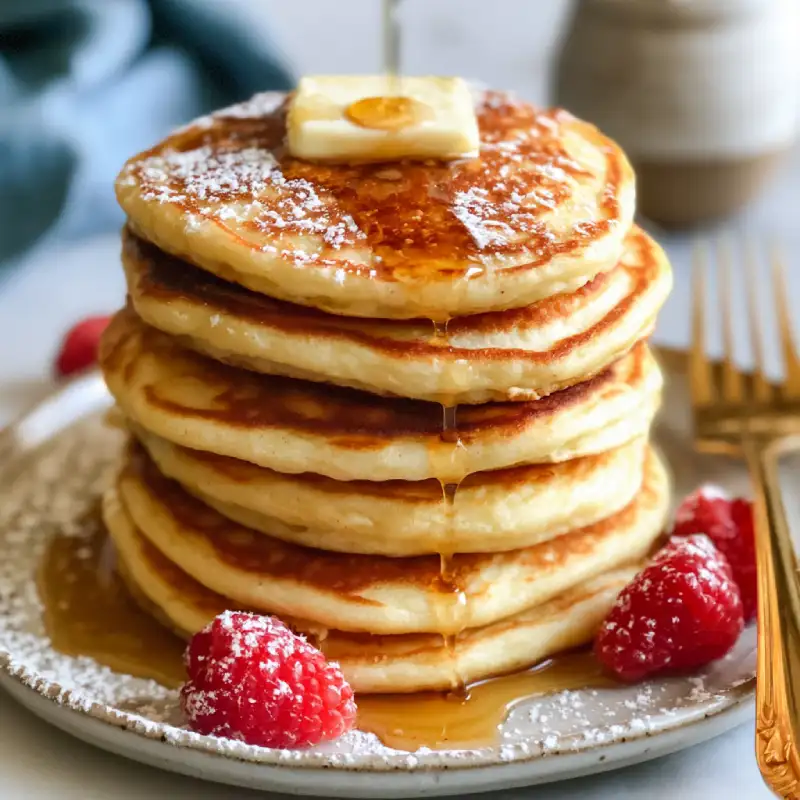
While these homemade buttermilk pancakes are divine on their own, they truly shine with the right accompaniments. The classic choice is, of course, a generous drizzle of pure maple syrup and a scattering of fresh berries like strawberries, blueberries, or raspberries. A dollop of whipped cream or a sprinkle of powdered sugar also adds a touch of elegance. For something a little different, try sliced bananas and a drizzle of chocolate sauce, or a homemade fruit compote. Don’t forget a side of crispy bacon or savory sausage to complete the ultimate breakfast feast! To drink, a freshly brewed cup of coffee, a glass of cold milk, or a vibrant orange juice would be perfect. For more breakfast inspiration, see more easy recipes.
Store, Reheat, and Enjoy Again
One of the best things about these homemade buttermilk pancakes is how well they store, allowing you to enjoy a delicious breakfast even on busy mornings.
Storing leftover batter: If you have leftover batter, transfer it to an airtight container and refrigerate for up to 2 days. Give it a gentle stir before cooking, as it may thicken slightly. You might need to add a splash of milk to reach the desired consistency.
Best methods for refrigerating and freezing cooked pancakes: Cooked pancakes can be refrigerated in an airtight container for up to 3-4 days. For longer storage, freezing is your best friend! Allow pancakes to cool completely, then stack them with parchment paper between each pancake to prevent sticking. Place the stack in a freezer-safe bag or container and freeze for up to 2-3 months.
Reheating for optimal texture: To reheat refrigerated pancakes, pop them in the toaster, microwave for 30-60 seconds, or warm them on a griddle over medium-low heat until heated through. For frozen pancakes, you can reheat them directly from frozen in a toaster (my preferred method for crisp edges!), in the microwave, or on a baking sheet in a preheated oven (350°F / 175°C) for about 10-15 minutes, until warm and soft. For more detailed freezing tips, check out this guide from Food Network.
Troubleshooting Common Pancake Problems (FAQ)
Why are my pancakes flat?
Why are my pancakes gummy?
How to prevent burning outside while raw inside?
Can I make this recipe gluten-free?
Can I make this recipe vegan?
Homemade Buttermilk Pancakes
- Total Time: 35 minutes
- Yield: 12-14 pancakes (4 servings)
Description
Achieve perfectly fluffy, tender, and tangy pancakes from scratch with this easy-to-follow recipe. Say goodbye to box mixes and hello to your new favorite breakfast!
Ingredients
- 2 cups (240g) all-purpose flour
- 2 tablespoons granulated sugar
- 2 teaspoons baking powder
- 1 teaspoon baking soda
- 1/2 teaspoon salt
- 2 large eggs, at room temperature
- 1 3/4 cups (420ml) buttermilk, at room temperature
- 1/4 cup (56g) unsalted butter, melted and slightly cooled
- Butter or cooking spray, for greasing the griddle
Instructions
- In a large bowl, whisk together flour, sugar, baking powder, baking soda, and salt.
- In a separate medium bowl, whisk together eggs, buttermilk, and melted butter until well combined.
- Pour the wet ingredients into the dry ingredients. Mix gently with a whisk or spatula until just combined. Lumps are okay! Do not overmix.
- Let the batter rest at room temperature for 10-15 minutes while you preheat your griddle.
- Heat a non-stick griddle or cast-iron skillet over medium heat. Lightly grease with butter or cooking spray.
- Pour 1/4 cup of batter per pancake onto the hot griddle. Cook for 2-3 minutes, until bubbles appear on the surface and edges look set.
- Flip and cook for another 1-2 minutes, or until golden brown and cooked through.
- Serve immediately with your favorite toppings.
- Prep Time: 15 mins
- Cook Time: 20 mins