
Table of Contents
- Your New Go-To Homemade Pancake Recipe
- Why This Pancake Recipe Delivers Every Time
- Essential Ingredients and Why They Matter
- Step-by-Step: Making Your Best Homemade Pancakes
- Expert Tips for Pancake Perfection
- What to Serve with Your Perfect Pancakes
- Storing and Reheating Homemade Pancakes
- Frequently Asked Questions About Homemade Pancakes
Your New Go-To Homemade Pancake Recipe
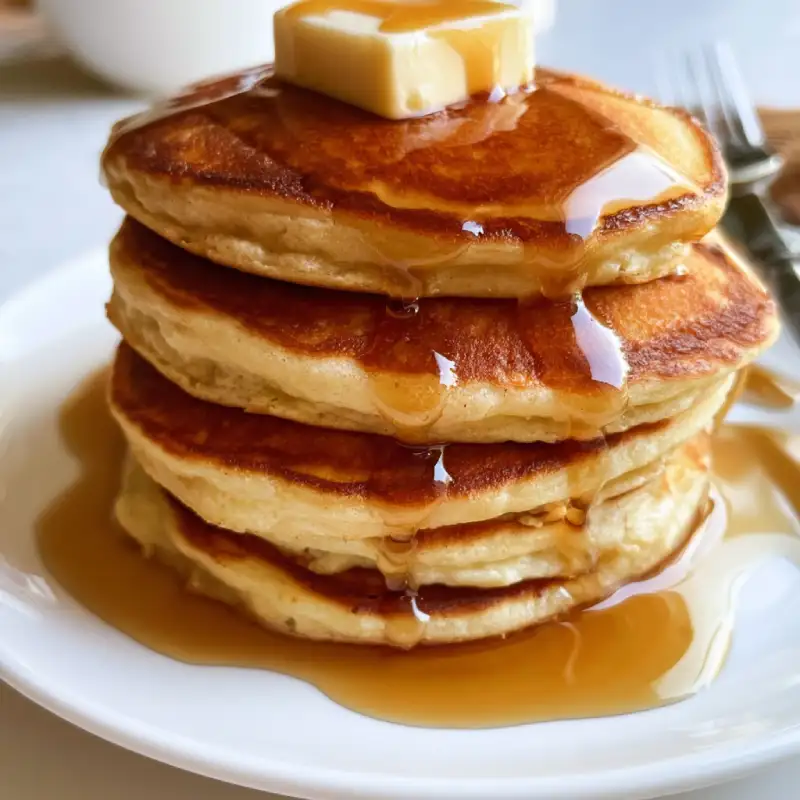
Imagine waking up to the aroma of golden-brown, impossibly fluffy pancakes, hot off the griddle. Each bite is a perfect balance of tender crumb and slightly crisp edges, just sweet enough to complement a drizzle of maple syrup. This isn’t a dream, it’s the reality of making your own Homemade Pancakes from scratch, and I’m here to show you exactly how!
Why Bother Making Pancakes from Scratch?
Because the difference is truly night and day! While boxed mixes offer convenience, they simply can’t replicate the fresh, vibrant flavor and incredible texture of pancakes made with simple, wholesome ingredients. You control the quality, the sweetness, and the fluffiness, resulting in a breakfast experience that feels like a special occasion every time.
Say Goodbye to Boxed Mixes
Once you try this recipe, you’ll wonder why you ever settled for anything less. Forget the artificial flavors and preservatives; embrace the joy of creating something truly delicious with your own hands. This recipe is so straightforward, it’ll quickly become your weekend (or weekday!) morning ritual.
Why This Pancake Recipe Delivers Every Time
- Light and Fluffy Texture, Not Flat: We use a perfect combination of leavening agents and gentle mixing to ensure every pancake rises beautifully, creating that coveted airy interior.
- Perfectly Golden Brown Edges: Thanks to the right amount of sugar and melted butter, your pancakes will develop a gorgeous, slightly crisp exterior that’s a delight to bite into.
- Balanced Sweetness: No Over-Sugared Flavor: This recipe hits the sweet spot, allowing the natural flavors of the ingredients to shine without being cloyingly sweet. It’s the perfect canvas for your favorite toppings.
- Quick to Make, Easy to Master: With just a few simple steps and common pantry ingredients, you’ll be flipping perfect pancakes in no time. Even beginner bakers will find success here!
Essential Ingredients and Why They Matter
Here is what you need and why:
All-Purpose Flour: The Structure: This is the backbone of our pancakes. I prefer unbleached all-purpose flour for its consistent quality. While you can experiment with other flours, all-purpose provides the ideal balance of structure and tenderness. For an even lighter crumb, you could substitute a small portion with cake flour, but it’s not necessary for fantastic results.
Baking Powder & Baking Soda: The Lift Explained: This dynamic duo is responsible for those glorious bubbles and the incredible rise. Baking powder is a double-acting leavener, meaning it reacts once with liquid and again with heat. Baking soda, on the other hand, needs an acid to activate (which it gets from the buttermilk or the slight acidity in regular milk when combined with other ingredients). Together, they create maximum fluffiness.
Sugar: For Flavor and Browning: Granulated sugar not only adds a touch of sweetness but also aids in browning, giving your pancakes that beautiful golden hue. It also contributes to the tender texture.
Salt: Enhances All Flavors: A pinch of salt is crucial! It doesn’t make the pancakes salty, but rather balances and enhances all the other flavors, making them taste richer and more complex.
Milk: Hydration and Tenderness (Substitutions: Buttermilk, Non-Dairy): Milk hydrates the flour and contributes to a tender crumb. For an extra tangy flavor and even more tender pancakes, buttermilk is a fantastic choice. If using buttermilk, you might want to slightly reduce the baking powder and rely more on the baking soda. For non-dairy options, almond milk, soy milk, or oat milk work wonderfully; just ensure they are unsweetened.
Eggs: Binding and Richness: Eggs act as a binder, holding everything together, and add richness and a lovely golden color to the pancakes. They also contribute to the overall structure and tenderness.
Melted Butter or Oil: Moisture and Crispy Edges (Why Melted Butter is Best): Melted butter is my secret weapon! It adds incredible flavor and moisture, resulting in a more tender pancake. It also helps create those slightly crispy, golden edges that are so irresistible. While oil can be used for moisture, it won’t impart the same depth of flavor as butter.
How to Make Homemade Pancakes
Follow these step-by-step instructions for perfect Homemade Pancakes every time:
1. Prep Your Dry Ingredients
In a large bowl, whisk together the all-purpose flour, granulated sugar, baking powder, baking soda, and salt. Whisking ensures all the leavening agents are evenly distributed, which is key for consistent rise. Make sure there are no lumps.
2. Combine Wet Ingredients Separately
In a separate medium bowl, whisk together the milk, eggs, and melted butter (or oil). Ensure the melted butter isn’t too hot, or it might cook the eggs slightly. Whisk until well combined.
3. Gentle Mixing: The Secret to Fluffiness
Pour the wet ingredients into the dry ingredients. Using a whisk or a spatula, mix just until combined. Do not overmix! A few lumps are perfectly fine and even desirable. Overmixing develops the gluten in the flour, leading to tough, chewy pancakes instead of light and fluffy ones.
4. Heat Your Griddle Correctly
Preheat your griddle or a large non-stick skillet over medium heat. To test if it’s ready, sprinkle a few drops of water on the surface; they should sizzle and evaporate quickly. Lightly grease the griddle with a small amount of butter or oil.
5. Pouring and Flipping Techniques
Pour about 1/4 cup of batter per pancake onto the hot griddle. Cook for 2-3 minutes per side, or until bubbles appear on the surface and the edges look set. Flip gently with a spatula and cook for another 1-2 minutes, until golden brown and cooked through.
Expert Tips for Success
- Do Not Overmix Your Batter: This is the golden rule for fluffy pancakes. Mix just until the dry ingredients are moistened. Lumps are okay!
- Rest Your Batter for 5-10 Minutes: Letting the batter rest allows the flour to fully hydrate and the leavening agents to start working, resulting in a more tender and airy pancake.
- Use the Right Amount of Fat on Your Griddle: Too much fat will make your pancakes greasy; too little will cause them to stick. A light coating of butter or oil is perfect.
- Consistent Griddle Temperature is Key: A medium heat is usually ideal. If it’s too hot, the outside will burn before the inside cooks. Too low, and they won’t brown properly.
- Don’t Crowd the Pan: Give your pancakes space to breathe! Cooking too many at once lowers the griddle temperature and makes them harder to flip.
What to Serve with Your Perfect Pancakes
Classic Maple Syrup Combos
Nothing beats a generous pour of warm, pure maple syrup. Elevate it further with a pat of butter melting on top, or a sprinkle of cinnamon. For a truly decadent treat, try a homemade berry syrup!
Fruit Toppings: Fresh and Compotes
Fresh berries (strawberries, blueberries, raspberries) are always a winner. Sliced bananas, peaches, or even a quick fruit compote (simmered fruit with a touch of sugar) add freshness and natural sweetness.
Savory Sides for Balance
Balance the sweetness with savory sides like crispy bacon, sausage links, or a perfectly fried egg. A side of yogurt or cottage cheese can also add a nice protein boost.
Storing and Reheating Homemade Pancakes
Cooling Properly for Storage
Allow cooked pancakes to cool completely on a wire rack before storing. Stacking them while warm will create condensation, making them soggy.
Freezing for Future Breakfasts
Once cooled, stack pancakes with parchment paper between each one to prevent sticking. Place them in an airtight freezer-safe bag or container. They’ll keep well for up to 2-3 months, making them perfect for quick weekday breakfasts!
Best Reheating Methods (Microwave, Toaster, Oven)
- Microwave: For a quick reheat, microwave 1-2 pancakes for 30-60 seconds, or until warm.
- Toaster: For slightly crispy edges, pop individual pancakes into a toaster or toaster oven on a medium setting.
- Oven: To reheat a larger batch, place pancakes in a single layer on a baking sheet, cover loosely with foil, and bake at 350°F (175°C) for 5-10 minutes, or until heated through.
Frequently Asked Questions About Homemade Pancakes
Why are my pancakes flat?
Can I use whole wheat flour?
How do I make them vegan?
What’s the difference between pancakes and crepes?
Can I make the batter ahead of time?
Fluffy Homemade Pancakes
- Total Time: 25 minutes
- Yield: 8-10 pancakes
Description
Discover the best flavor & step-by-step guide to making delicious homemade pancakes. This easy-to-bake recipe is perfect for any meal!
Ingredients
- 1 ½ cups all-purpose flour
- 2 tablespoons granulated sugar
- 1 tablespoon baking powder
- ½ teaspoon baking soda
- ½ teaspoon salt
- 1 ¼ cups milk (whole milk or buttermilk recommended)
- 1 large egg
- 3 tablespoons unsalted butter, melted (plus more for greasing)
Instructions
- In a large bowl, whisk together flour, sugar, baking powder, baking soda, and salt.
- In a separate medium bowl, whisk together milk, egg, and melted butter.
- Pour the wet ingredients into the dry ingredients. Mix gently with a whisk or spatula until just combined. A few lumps are fine; do not overmix.
- Let the batter rest for 5-10 minutes while you heat your griddle.
- Heat a lightly greased griddle or large non-stick skillet over medium heat.
- Pour about ¼ cup of batter per pancake onto the hot griddle.
- Cook for 2-3 minutes per side, or until bubbles appear on the surface and edges are set. Flip and cook for another 1-2 minutes until golden brown.
- Serve immediately with your favorite toppings.
- Prep Time: 10 mins
- Cook Time: 15 mins